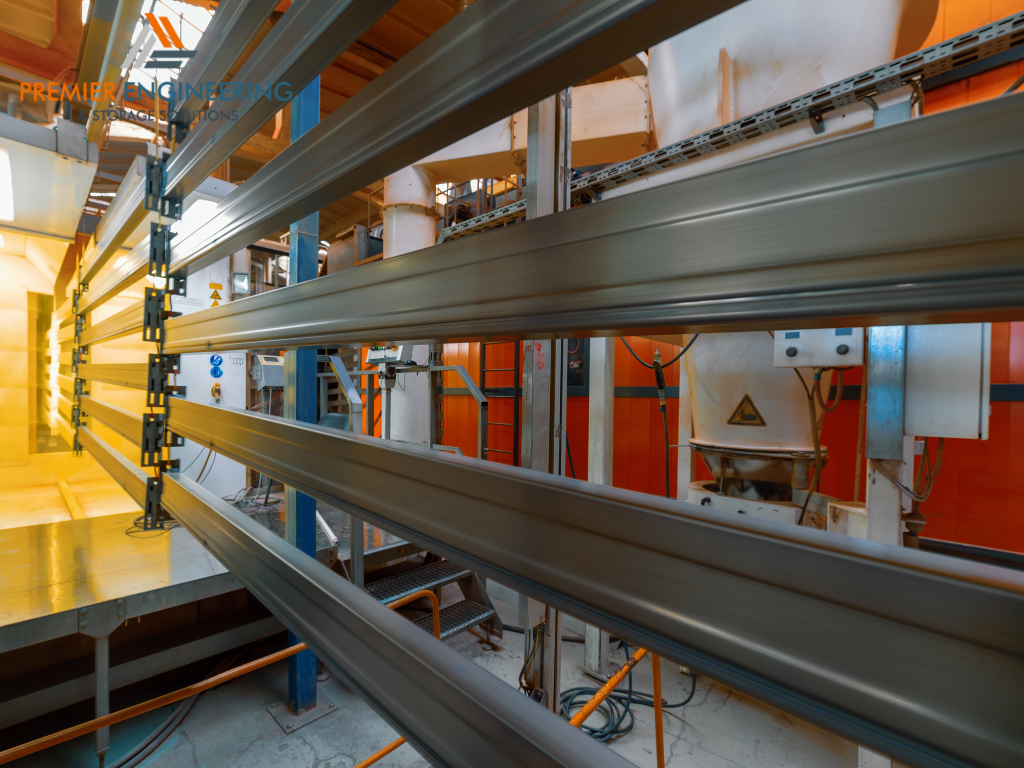
Proper installation of stainless steel splashbacks is essential to ensure they serve their purpose effectively – protecting walls from splashes and stains while adding a sleek look to the kitchen. Correct installation prevents issues such as water seepage behind the splashback and ensures the splashback is securely fixed, reducing the risk of damage over time.
Brief comparison of DIY versus professional installation approaches.
DIY installation can be a cost-effective option for those with the necessary skills and tools, offering a sense of accomplishment and control over the project. Professional installation, on the other hand, provides expertise and precision, ensuring the splashback is installed correctly and efficiently. The choice between DIY and professional installation often depends on individual skill levels, the complexity of the project, and budget considerations.
DIY Installation of Stainless Steel Splashbacks
Key considerations and preparation steps for DIY installation.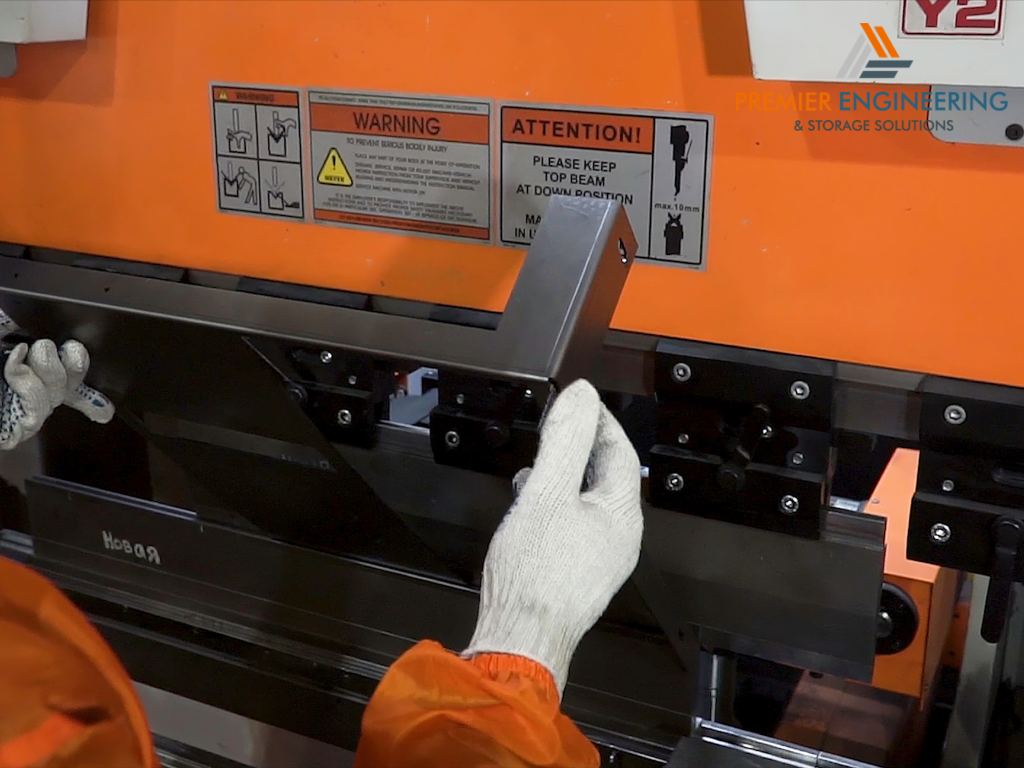
Prior to installation, it’s important to measure the area accurately where the splashback will be installed. Ensure that the wall surface is clean, dry, and flat. Gather all necessary tools and materials before beginning, and plan the layout carefully, considering any outlets or switches that the splashback will need to accommodate.
Detailed guide on the tools, materials, and steps involved in DIY installation.
Tools and materials needed typically include a measuring tape, level, adhesive suitable for stainless steel, caulking gun, and possibly a drill for any fixtures. The installation process involves applying adhesive evenly on the back of the splashback, carefully placing it on the desired spot, pressing it firmly, and ensuring it is level and aligned. Seal the edges with a silicone sealant to prevent moisture ingress.
Challenges and Common Mistakes in DIY Installation
Identifying potential challenges and mistakes commonly made during DIY installation.
Challenges in DIY installation include ensuring the splashback is level, properly aligned, and securely adhered to the wall. Common mistakes involve miscalculating measurements, uneven application of adhesive, or inadequate preparation of the wall surface, leading to poor adherence or alignment issues.
Tips and tricks to avoid these pitfalls and ensure a successful installation.
To avoid common pitfalls, double-check measurements and use a level to ensure proper alignment. Apply adhesive in a consistent pattern and use a notched trowel for even distribution. Take your time to position the splashback correctly before pressing it firmly against the wall. Finally, be patient and allow adequate time for the adhesive to cure before using the area.
Professional Installation of Stainless Steel Splashbacks
Advantages of opting for professional installation services.
Professional installation offers several advantages, including expert craftsmanship, adherence to safety standards, and a hassle-free experience. Professionals bring specialized tools and techniques that ensure the splashback is installed accurately and securely. They can also navigate any unforeseen challenges that may arise during the installation process, such as irregular wall surfaces or complex cut-outs for fixtures.
What to expect from the process and how to choose a reliable installer.
The process typically involves an initial consultation, measurement, and assessment of the installation site. Reliable installers often provide a detailed quote, outlining the costs and time frame. When choosing an installer, look for experience, a portfolio of previous work, customer reviews, and ensure they are licensed and insured. Ask about warranties or guarantees on the workmanship for added confidence.
Cost Comparison: DIY vs. Professional Installation
Breaking down the cost implications of DIY versus professional installation.
DIY installation can save on labor costs, but requires investment in tools and materials. Mistakes made during DIY projects can also lead to additional expenses. Professional installation, while more expensive upfront, includes labor, expertise, and often the materials needed. The overall cost is impacted by the complexity of the job, the size of the splashback, and the region’s prevailing labor rates.
Factors that influence the overall cost of each option.
For DIY, factors include the cost of tools (if not already owned), materials, and any necessary adhesives or sealants. For professional installation, factors include labor costs, the complexity of installation, and any additional services like old splashback removal or wall preparation.
Quality and Longevity: DIY vs. Professional Outcomes
Assessing the quality and longevity of stainless steel splashbacks based on installation method.
Professional installation typically ensures a higher level of precision, which can directly impact the splashback’s longevity and resistance to issues like water damage or detachment. DIY installations, while potentially high-quality if done correctly, can vary based on the individual’s skill level and experience.
The impact of installation quality on the durability and appearance of the splashback.
Quality installation ensures that the splashback is not only aesthetically pleasing but also functional and durable. Poor installation can lead to gaps, uneven surfaces, or even water ingress, which can compromise both the material and the wall it’s affixed to. Professional installers also ensure proper alignment and sealing, crucial for maintaining the splashback’s appearance and functionality over time.
Safety Considerations in Splashback Installation
Highlighting the safety aspects to consider in both DIY and professional installations.
During DIY installation, it’s crucial to use the correct tools and wear appropriate safety gear, including gloves and eye protection, to handle the stainless steel safely. Be aware of sharp edges and the weight of the material. For professional installations, ensure that the installers follow safety standards, use the correct equipment, and secure the area to prevent any accidents or property damage.
Importance of adhering to safety protocols to prevent injuries and property damage.
Adhering to safety protocols helps prevent common injuries associated with splashback installations, such as cuts from sharp edges or injuries from tools. Proper handling and securing of the splashback during installation are vital to prevent it from falling, which could cause injury or damage. Both DIY enthusiasts and professionals should be aware of and comply with any local building codes and regulations.
Making the Decision: When to DIY and When to Hire a Professional
Criteria to help decide whether to opt for DIY or professional installation.
Consider your skill level and experience with similar projects. DIY may be suitable for those comfortable with basic tools and measurements. However, if the project involves complex cuts, large pieces, or specialized installation (such as around electrical outlets), professional expertise might be necessary. Evaluate the tools and equipment you have access to – some installations may require tools that are not typically found in a standard DIY toolkit.
Factors such as skill level, project complexity, and time constraints.
Time constraints also play a role; professional installers can typically complete the job more quickly. Consider the complexity of the project, including the size of the splashback and the condition of the wall it will be installed on. A straightforward installation might be a feasible DIY project, but more complex installations often warrant professional skills.
Conclusion
Careful planning is essential, including thorough preparation of the installation surface and understanding the material’s properties. Whether choosing DIY or professional installation, it’s important to ensure that all steps of the process are well thought out and executed. This careful approach will lead to a splashback that not only looks great but also functions effectively and safely in your space.