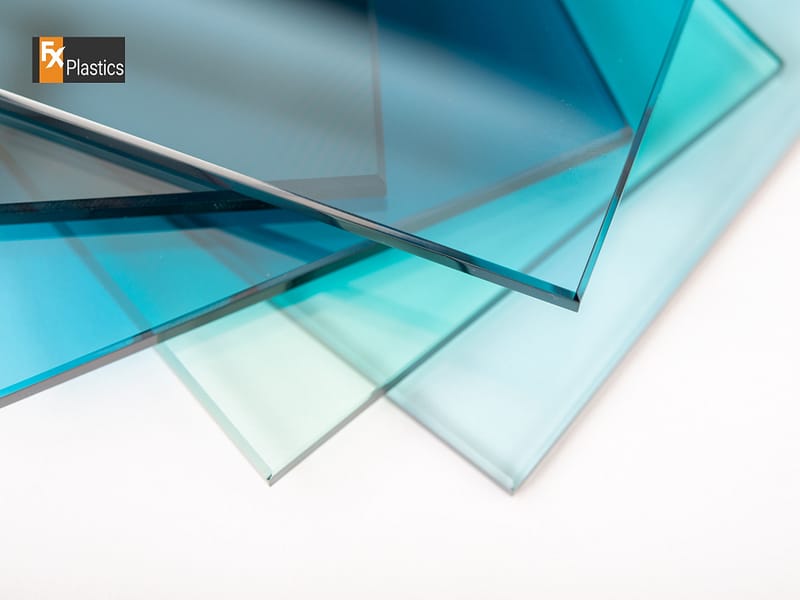
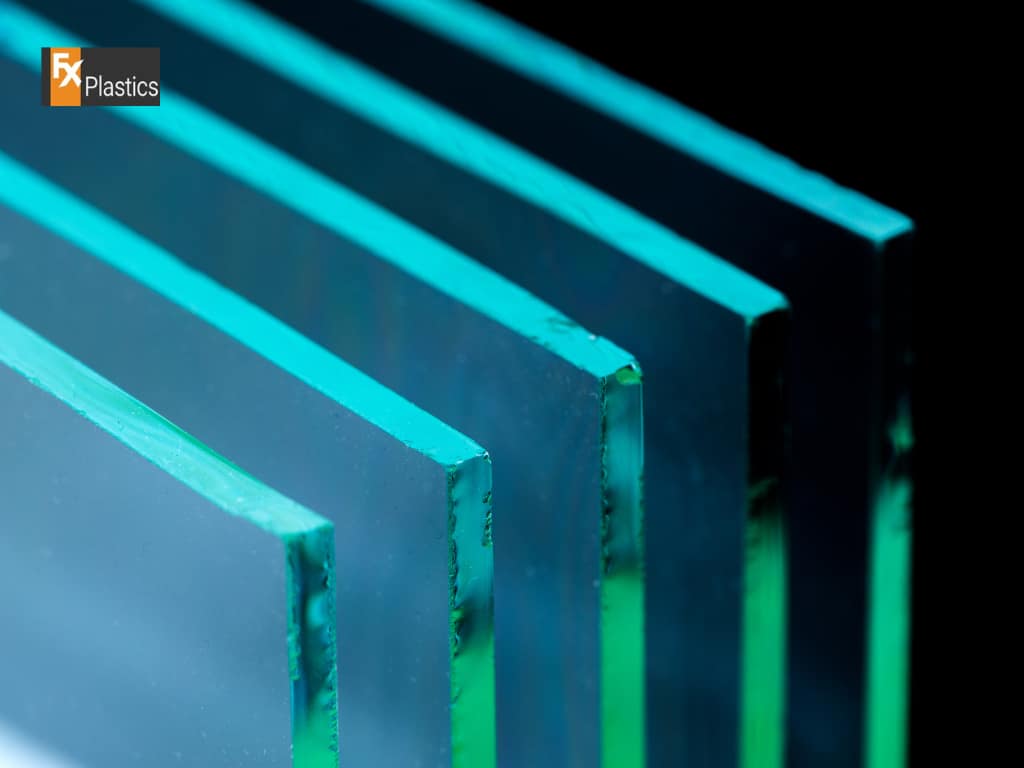
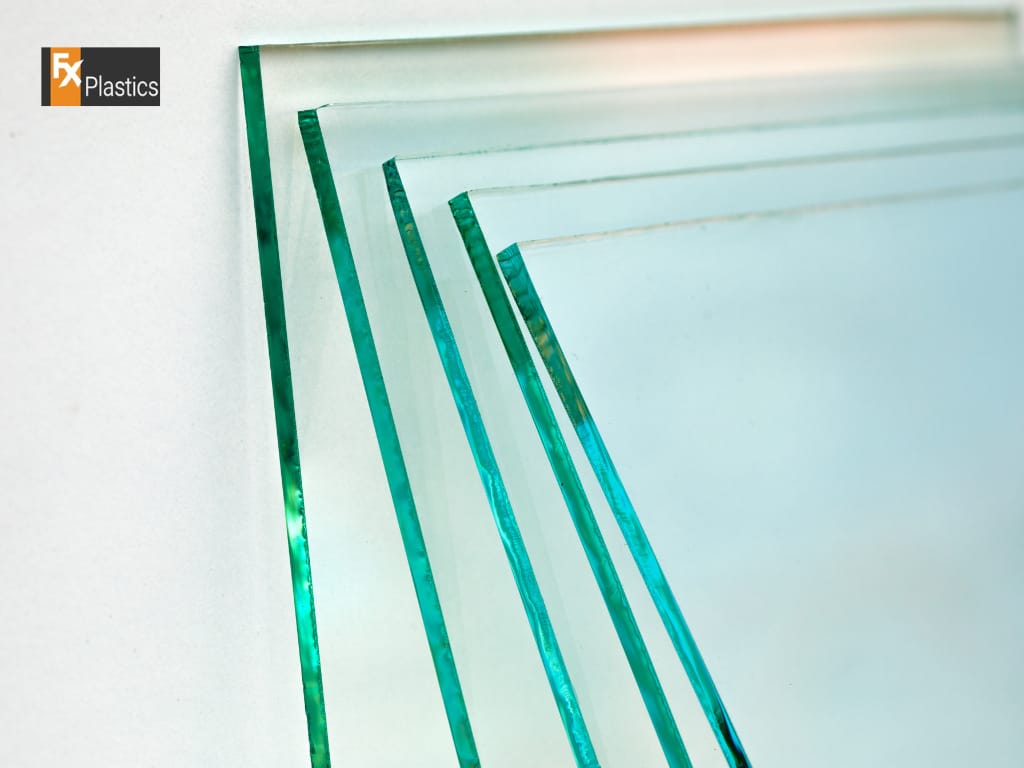
Perspex cut to size, a versatile and widely used acrylic material, is renowned for its clarity, durability, and flexibility in various applications, ranging from artistic installations to practical construction projects. Its adaptability allows for creative expression and functional utility in diverse settings. The success of projects using Perspex, however, heavily relies on the proper joining and assembly of its pieces. The techniques employed in this process are crucial not only for the structural integrity of the finished product but also for maintaining its aesthetic appeal. Understanding and applying effective joining and assembly methods are key to harnessing the full potential of Perspex in any project.
Preparation for Joining Perspex
Surface Preparation for Effective Bonding
Before joining Perspex pieces, it is essential to prepare their surfaces correctly to ensure a strong and lasting bond. This preparation typically involves thorough cleaning to remove any dust, grease, or residues that might impede adhesion. A mild soap solution or specialized Perspex cleaner can be used, followed by a gentle wipe with a lint-free cloth. Additionally, lightly sanding the edges to be joined can create a slightly roughened surface, enhancing the grip of the adhesive. It’s important to avoid over-sanding, which might create an uneven surface or damage the clarity of the Perspex.
Choosing the Right Size and Thickness
Selecting the appropriate size and thickness of Perspex pieces is a critical step in the planning phase of any project. The thickness should correspond to the structural requirements of the design – thicker sheets for load-bearing applications and thinner ones for decorative purposes. Consideration of the size and thickness also plays into how the pieces will be joined; larger, thicker pieces may require stronger bonding methods or mechanical fastenings for additional support.
Techniques for Joining Cut-to-Size Perspex
Methods for Joining Perspex Sheets
There are several effective methods for joining Perspex cut to size, each suited to different project requirements:
- Solvent Bonding: This method involves using a solvent-based adhesive that slightly melts the Perspex surfaces, creating a bond as it dries. It’s ideal for achieving clear, almost invisible joints.
- UV Bonding: UV-cured adhesives are used for their strong bonding and quick curing under UV light. This method is often chosen for its precision and clean finish.
- Mechanical Fastening: Involves using screws, bolts, or other mechanical fasteners. This method is suitable for larger, heavier pieces where additional support is necessary.
Step-by-Step Guide to Solvent Bonding
- Prepare the Surfaces: Clean and sand the edges of the Perspex sheets as described in the preparation section.
- Apply the Adhesive: Use a solvent-based adhesive designed for acrylics. Apply it sparingly along one edge of the Perspex.
- Join the Pieces: Carefully align the pieces and press them together. The solvent will slightly melt the Perspex, so ensure alignment is precise.
- Let it Set: Allow sufficient time for the solvent to evaporate and the joint to set. Avoid moving the pieces during this time.
- Finish the Joint: Once dry, the joint can be further smoothed or polished if necessary.
Selecting Adhesives and Fasteners for Perspex
Types of Adhesives Suitable for Perspex
When bonding Perspex cut to size, choosing the right adhesive is crucial for both strength and aesthetics. Common options include:
- Acrylic Cement: Specifically designed for acrylic materials, acrylic cement creates a strong bond by slightly melting the Perspex surfaces. It’s ideal for a seamless and clear finish.
- Epoxy Resins: These provide a robust bond and are suitable for applications where a stronger adhesive is required. Epoxy resins are versatile but can be visible in the joint area.
Each adhesive has its specific use cases and application techniques, and the choice largely depends on the project requirements and desired aesthetics.
Using Mechanical Fasteners for Perspex
Mechanical fasteners like screws and bolts can be used for assembling Perspex, especially in applications where additional structural strength is needed or where disassembly might be required. When using such fasteners, it’s important to:
- Pre-drill holes to prevent cracking.
- Use rubber washers to distribute the load and minimize stress.
- Choose the right size of fastener to avoid overtightening and damaging the Perspex.
Advanced Assembly Techniques for Complex Projects
Innovative Joining Methods for Complex Designs
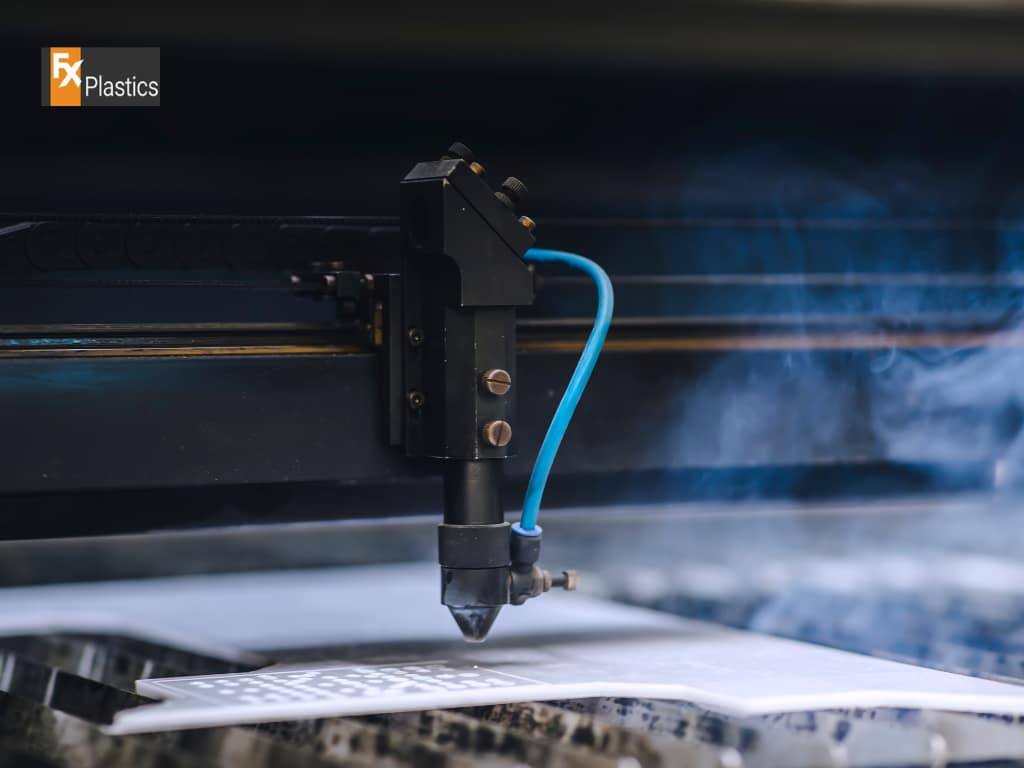
For more intricate Perspex designs, advanced techniques such as thermal bonding and laser welding can be employed. These methods are particularly useful for complex shapes or for when a more subtle bond is required. Thermal bonding uses controlled heat to fuse Perspex pieces together, while laser welding offers precision and can create extremely strong joints.
Tips for Aligning and Clamping During Assembly
Accurate alignment and secure clamping are key for successful assembly, especially when using adhesives that require time to set. Tips for effective alignment and clamping include:
- Using jigs or templates for consistent alignment.
- Applying gentle but firm pressure with clamps to hold the pieces in place without causing stress.
- Checking the alignment periodically during the curing process to ensure accuracy.
Finishing Touches Post-Assembly
Smoothing and Polishing Joined Edges
After the assembly and bonding processes, the joined edges of Perspex pieces may require finishing to achieve a polished look. Techniques include:
- Light sanding to smooth out any irregularities.
- Polishing with a fine-grade abrasive for a glossy finish.
- Being careful not to apply excessive pressure which might damage the Perspex.
Adding Final Decorative Elements
To enhance the visual appeal of the assembled Perspex pieces, consider adding decorative elements such as:
- Painting or adding vinyl decals for a personalized touch.
- Incorporating LED lighting to highlight the edges or surfaces.
- Using etching or engraving techniques for a more sophisticated design.
Troubleshooting Common Issues in Perspex Assembly
Addressing Common Bonding and Joining Mistakes
When working with Perspex, certain issues can arise during the bonding and joining process. Common problems and their solutions include:
- Bubbles in the Adhesive: Often caused by applying too much adhesive or joining pieces too quickly. Solution: Apply adhesive sparingly and allow it to settle before joining.
- Misalignment of Pieces: This can occur if pieces are moved before the adhesive has fully set. Solution: Use clamps or jigs to hold pieces in place until the adhesive cures completely.
- Weak Joints: Typically a result of insufficient surface preparation. Solution: Ensure surfaces are clean and slightly abraded for better adhesive bonding.
Maintaining Strength and Integrity of Joints
To ensure the long-term durability and strength of joined Perspex pieces:
- Regular Inspections: Periodically check the joints for signs of wear, stress, or weakening.
- Avoid Excessive Stress: Do not place undue stress on joints, especially in areas that bear weight or are frequently handled.
- Proper Use and Care: Use the Perspex construction as intended and follow any specific care guidelines to maintain joint integrity.
Conclusion
Effectively joining and assembling Perspex pieces requires attention to detail, precision, and proper techniques. From the initial preparation of surfaces to the final application and curing of adhesives, each step is crucial to the success of a Perspex project. Troubleshooting common issues promptly can prevent minor problems from becoming major setbacks. By focusing on quality and precision at every stage of assembly, you can create Perspex constructions that are not only aesthetically pleasing but also durable and reliable. Remember, successful Perspex projects hinge on a combination of skilled craftsmanship, appropriate materials, and careful execution.

